
Images shot on Fomapan Action 400 in the Lomography Sprocket Rocket
One of my favourite sets of photographs that I shot in recent years came when I took the Lomography Sprocket Rocket out for a walk around Great Yarmouth.
That time, I went with a colour film. Lomography’s own Color Negative 400, no less. Colour film just seems right at the seaside.
But when the time came to go and shoot some sprocket hole panoramas in Nottingham, I thought monochrome would work better. Grittier. Street-ier.
Looking at the results, I think it was a good choice. I even got a usable first-of-the-roll shot out of it.

Contents
A quick recap of what the Sprocket Rocket is
For the uninitiated, Lomography’s Sprocket Rocket is a cheap and basic camera that gives a very particular kind of end result.
As the name suggests, sprocket holes are the order of the day, but you also get a panoramic image ratio to further the novelty aspect of your photographs even… further.
The oft-advertised aspect ratio of this camera is 3×1, but you’ll only get that if you use the optional film mask which blocks out the top and bottom of your shots while keeping the width the same.
If you do this though, you won’t see the sprocket holes. So there’s a trade-off. If you want those holes, you have to lose a bit of panorama – the shots here are actually 2×1 – and if you want to go as panoramic as possible, you will lose the sprocket hole effect.


Because this camera takes such wide shots, you’re using two frames worth of film for each one – so you can expect to get around 18 shots from a 36-exposure roll and 12 from a 24-exposure one.
If you want to get 36 and 24 panoramic shots respectively, you’ll want something like the Reto Pano instead.
There aren’t many settings for you to worry about with the Sprocket Rocket, with just two aperture choices – f11 and f16 – and a single normal shutter speed of 1/100. There is a Bulb mode for long exposures too, though.
You have two focus settings on the Sprocket Rocket – 0.6m to 1m and 1m to infinity – and you can do double exposures too, as I played around with here.
Finally, there is no requirement for any batteries, because there are no electronics in this thing whatsoever.
All in all, you just have to point it at what you want a photograph of, judge it as best you can through the slightly blurry plastic viewfinder, and accept what you get once your film is developed.

The case for shooting close up with this panoramic camera
When I first got this camera and was thinking about what to shoot with it and where, my mind went straight to wider landscape or architectural shots where the whole frame would be filled by a bigger composition.
I have taken plenty of photographs like that with it of course, but there is a slight restriction to how much you can improve the photograph afterwards.
When I use a normal camera, one thing I’m quite obsessive about when I’m editing them is straightening horizons and/or buildings. Any lines that should be horizontal or vertical are made to be so, as best I can.
With the Sprocket Rocket though, I’ve found myself not wanting to do that because then the sprocket holes won’t be level along the top and bottom, and that would just look even worse.
So a couple of shots from this set, like the two below, have had to have been left a little crooked.


There’s also the matter of the positioning of the sprocket holes, which you cannot help.
In the next shot below, the top of the clock tower being taken out by a sprocket hole was just bad luck.
Conversely, the lady’s feet being either side of the sprocket hole in the image after that one was just good luck.
There’s no way you could plan either of these to line up how you would have preferred, or avoid them going how you didn’t want.

With all this in mind, something that has surprised me has been how much I enjoy setting that focus to 0.6m to 1m and shooting close-up subjects too.
Because then all of what I’ve just said no longer matters. I feel like I have more freedom to let things be crooked if that’s how they end up.
I don’t really care about the background behind the man and the left lion. I don’t care that it’s not straight, and I don’t care if the sprocket holes are or aren’t obscuring anything.
And although the ice cream van isn’t such a close-up subject, the same principles apply for that shot too.
If you get the chance to play with a Sprocket Rocket yourself, my advice is to set the focus close-up and give some shots like this a go too.


Getting more interesting shots from a more basic camera
A few years ago I was lucky enough to borrow from a friend one of the best film cameras ever made. The fantastic Nikon FM3a.
I got some pictures that I quite liked with it too, which you can check out here.
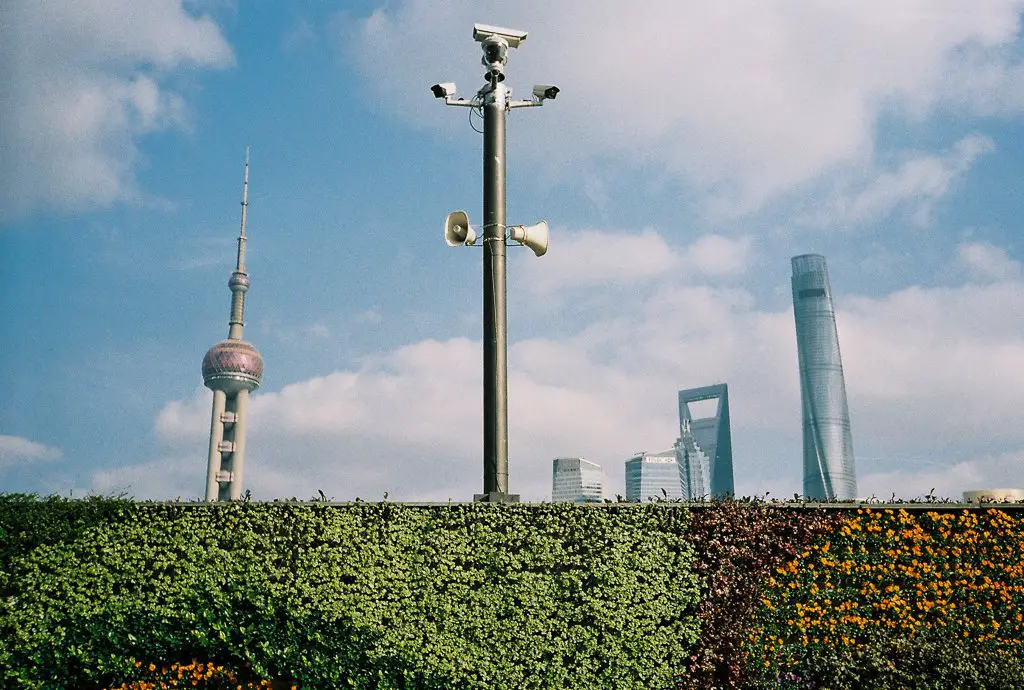
The thing is however, I’ve shot quite a few rolls of film around Nottingham in recent years and I’m starting to feel like my results are getting a little repetitive. I’ll often head to the same locations in the city each time.
And while I did write here how a different day is going to yield different results, there’s no doubt that a percentage of them are going to be similar.
Take these next three as an example, of the oft-photographed Nottingham Council House. They definitely aren’t the first monochrome shots of those arches that I’ve published on this site.
But thanks to the Sprocket Rocket, they are at least different.


To go back to the Nikon FM3a I mentioned earlier and tie this section back together, I feel like I could go to Nottingham with any of the top 10 SLRs, rangefinders or premium point ‘n’ shoots ever made and, so long as it had a normal length lens on the front, I’d probably come back with a very similar set of photographs.
Some people hate things like the Sprocket Rocket. Cheap, basic, all plastic, barely any settings, and technically a bit rubbish.
But I really like it.
Yes, sprocket hole panoramas are a novelty. And if you’re relying on a novelty to make your photographs interesting, doesn’t that just mean they’re inherently uninteresting?
Perhaps. But I don’t care. What’s important is that I like the results I get. And pretty much every time I use this camera, I do like the results I get from it.
I would have preferred the next one below to have been in focus and not so blurred, but you can’t win them all. Overall though, I think I had a decent enough hit rate with this roll.
Even experimenting with shooting into the sun didn’t turn out too bad.


Wrapping up these sprocket hole panoramas in Nottingham
I’m not going to claim everything about this camera is great, however. The biggest issue I see optically with the images it gives you is the drop off in sharpness the further away from the centre of the image you go.
But you can always think of this as a feature rather than a bug if you like. All part of the charm. That’s what I do.
Another downside to the Sprocket Rocket is the expense of getting the film developed and – especially – scanned, and this is perhaps the biggest thing that stops me from using mine more often.
Not all labs will have the ability to scan sprocket hole panoramas, and those that do will likely charge more than they do for regular film scans. This is fair enough, as it is extra work for them after all.
Overall though, I like the Sprocket Rocket and I like the results it gave me from this day in Nottingham.
They may not be technically great if you value things like sharpness and accurate compositions above everything else with your work but, in a world where most film photographs don’t have sprocket holes and a 2×1 aspect ratio, they are at least something different.
And that is worth something, to me. 🙂
If you enjoyed that post shooting sprocket hole panoramas around Nottingham, why not have a look at some of these other film photo essays too:


And if you think others will find this post worth a read, help them find it by giving it a share 🙂

These are lovely, Lee! Hope all is well,
-d.
Hey Dmitri, thank you. 🙂 Doing okay… am still here and that’s kind of the main thing isn’t it. Hope you’re good too mate.